Step 1
Fix the hook to the vice, use a Tiemco 2302 or similar, # 12

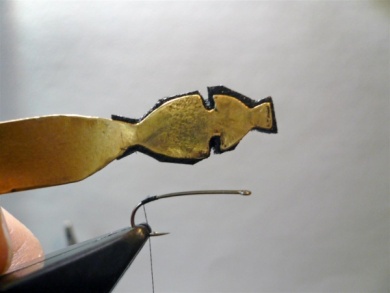
Step 2
This brass plier was hand made by myself but you build one and shape it to your preference.

Step 3
Place a piece of 3 mm foam inside the brass plier.

Step 4
Cut the excess foam with a scissor.
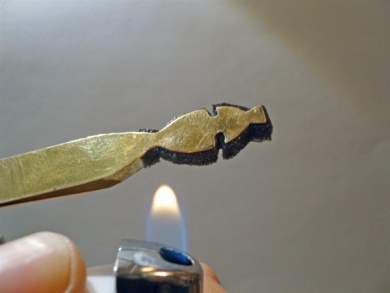
Step 5
Burn the foam around the plier.
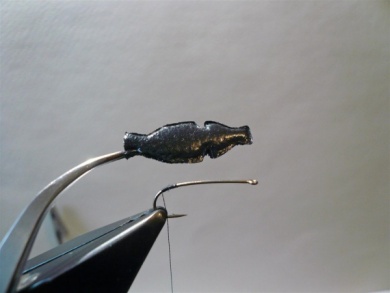
Step 6
A view of the shaped foam.
Step 7
Tie the foam.
Step 8
Take a piece of black plastic tube.
Step 9
Tie it on the hook shank.
Step 10
Tie the other two pieces.

Step 11
Put a little drop of Bug Bond on each leg and foam.
Step 12
Fix it using a UV lamp.

Step 13
Create a loop and put the hot orange seal fur inside them. This is my favourite color body for beetles.

Step 14
Twist the loop.
Step 15
Turn the dubbing around the hook shank, create a bump around the legs, stop dubbing before the last pair of legs.

Step 16
Fold back the black foam and fix it with a few turns.
Step 17
Term the body, cut off the excess.
Step 18
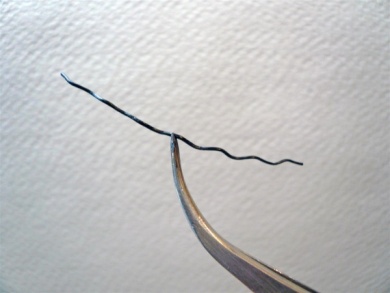
Take a piece of very thin plastic broom hair, I use brush hair from the sides of mosquito nets.
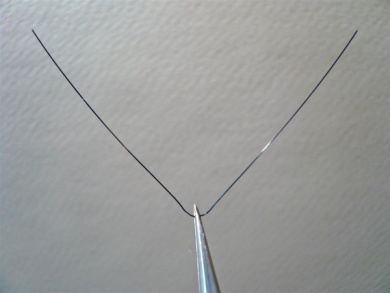
Step 19
Tie the antennae.

Step 20
Fold again the black foam and tie it strongly.

Step 21
Tie the final knot to the fly.
Step 22
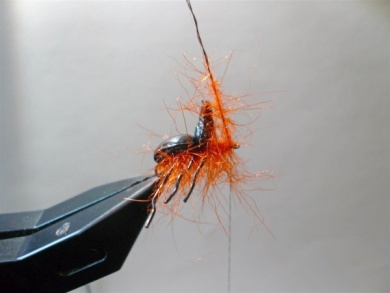
Cut the foam excess.

Step 23
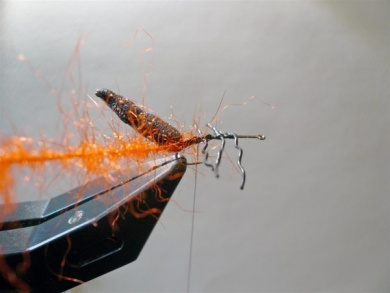
Trim the orange seal fur excess.

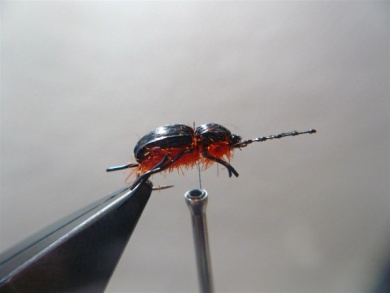
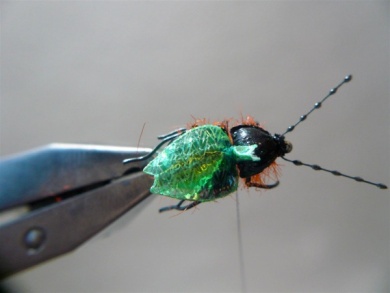
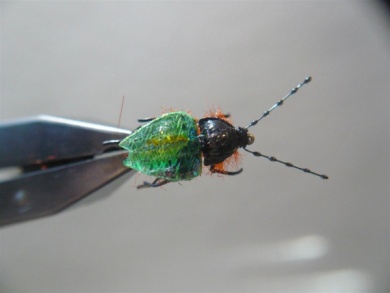
Step 24
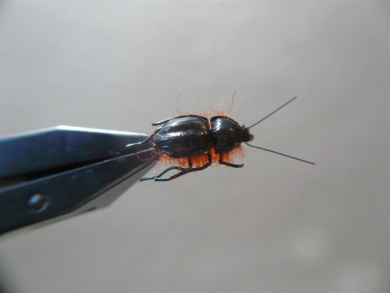
Final body.

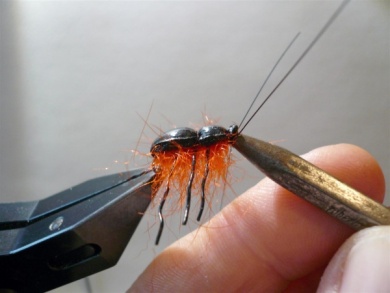
Step 25
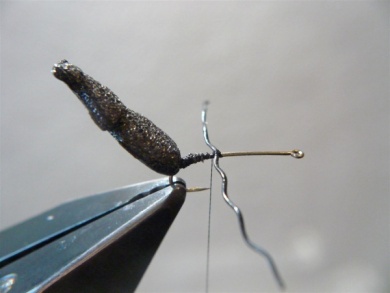
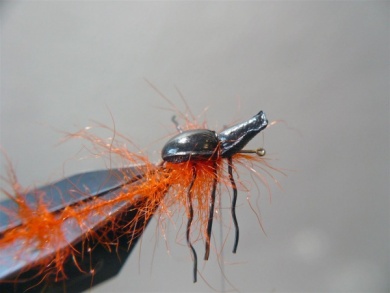
Press the legs with a round plier.

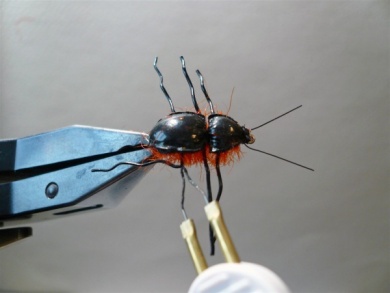
Step 26
Fold back the legs and give a little touch with a cauterizer, the legs will remain in the right position. Do the same for all legs.
Step 27
Cut the the legs and antennae.
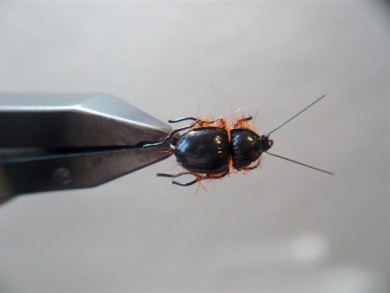
Step 28
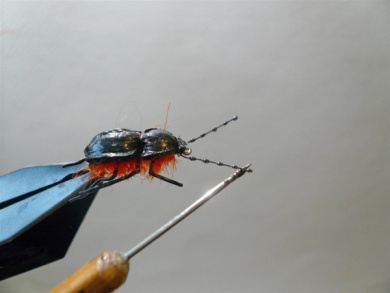
Final legs.
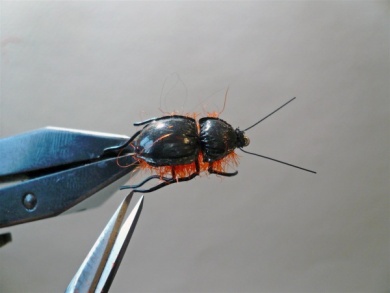
Step 29
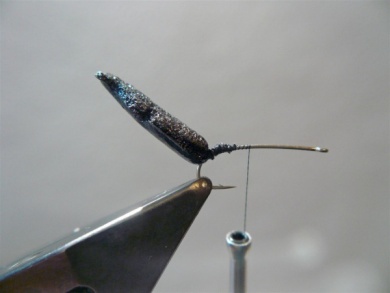
Burn the needle and put it on the middle of the body, just a little touch to give it the right shape.

Step 30
Right shape.
Step 31
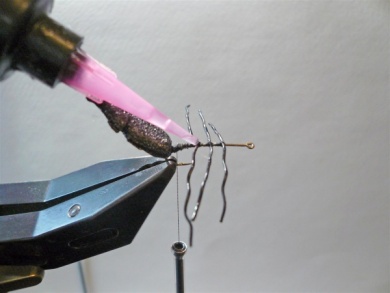
Put on a piece of plastic or glass a little drop of Bug Bond and mix with a very little drop of black paint, I use black Cellire. With a needle make the black drops on the antennae.
Step 32
Fix with UV lamp. The Fishing Beetle is ready to fish on, if you like to change colors you can paint it with acrylic iridescent colors and cover it with Bug Bond, or epoxy 5 min.

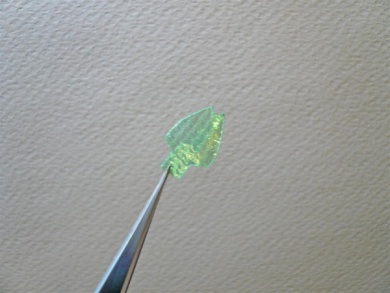
Step 33
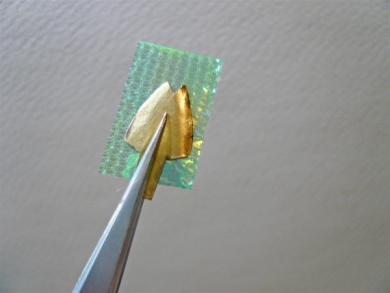
It is possibile to add wings in order to have a better effect when fishing. Take a piece of pearlescent sheet, in this case green.

Step 34
Put it inside a brass plier.
Step 35
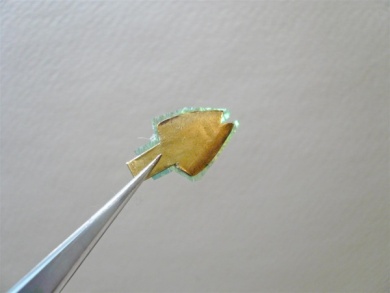
Trim the excess, then burn around it.
Step 36
The wings are ready.
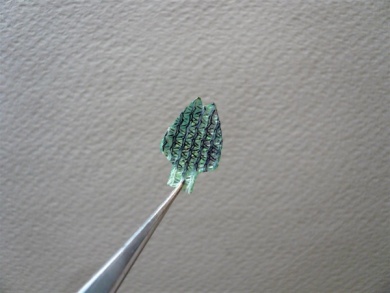
Step 37
Using a black permanent marker paint the back side of the wings.
Step 38
Tie again the tying thread between the two parts of the beetle.
Step 39
Fold the wing as in the picture.

Step 40
Put the wings in the right position.
Step 41
Give a few turn of tying thread and then remouve the plier.
Step 42
Trim the excess.

Step 43
Finish the fly with two knots.

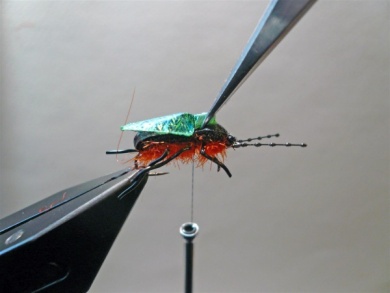
Step 44
The wings in the right position.
Step 45
Put a few drops of Bug Bond on the back side of the wing.
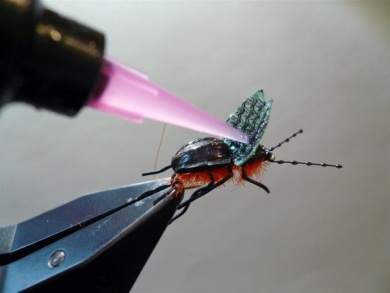
Step 46
Fold back the wings and fix with the UV lamp.

Step 47
The Winged Fishing beetle.